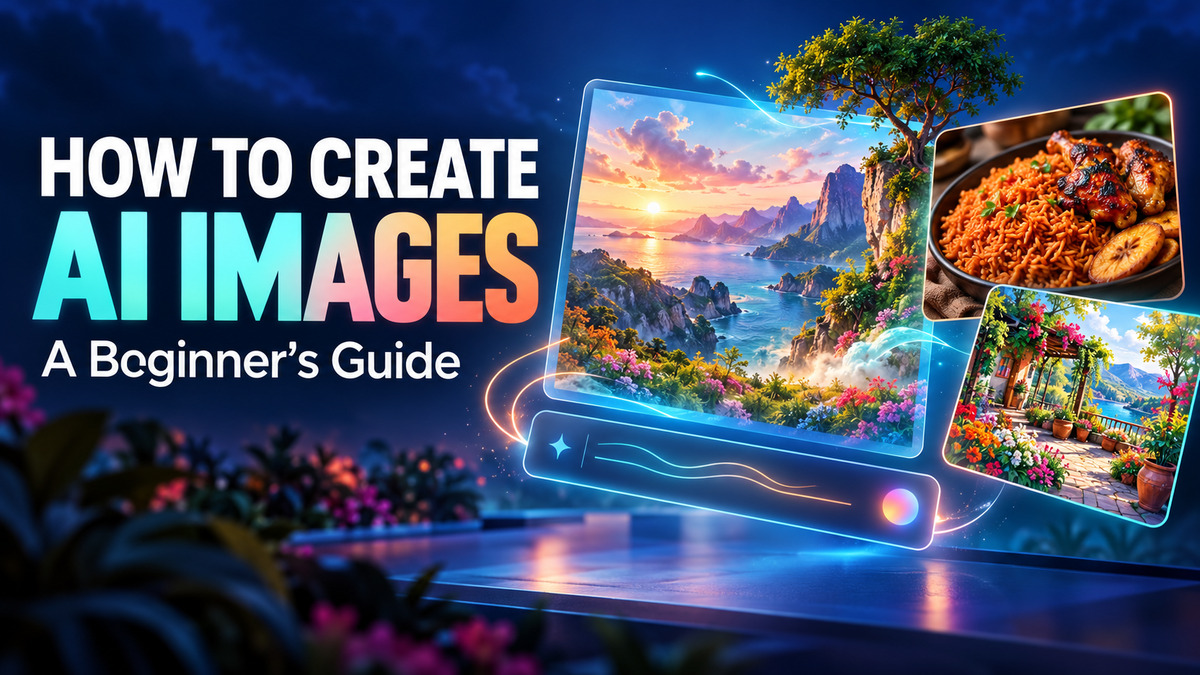
You have an idea for a beautiful picture, a business advert, or a scene for a story—but you do not know how to draw it. AI image creation gives you a way to turn that idea into a visual using written instructions.
You do not need to understand programming to get started. The most useful skills are describing what you want, spotting what needs improvement, and refining your instructions.
This guide explains how to create AI images, write better prompts, and prepare your results for use.
What Is AI Image Creation?
AI image creation is the process of using artificial intelligence to generate pictures from instructions, often called prompts. Some tools also accept reference images, allowing you to guide the appearance or request changes to an existing picture.
For example, you could request:
Create a realistic photograph of a bowl of Nigerian jollof rice with grilled chicken and fried plantain, placed on a wooden dining table beside a bright window.
Your description guides the result, but it does not guarantee every detail will be correct. Treat the first image as a draft you can review and improve.
1. Decide What the Image Should Do
Before writing a prompt, identify the image’s purpose. A blog illustration, a product advert, and a story scene need different compositions.
Ask yourself:
- What should the viewer notice first?
- Where will I use the image?
- Should it look photographic, illustrated, or like a painting?
- Do I need empty space for a headline or logo?
For a food business advert, the meal should be the main focus. For a blog cover, a simpler scene with space for a title may work better.
2. Open an Image Generation Tool
Use a tool that supports generating images from text. If you want to transform a photo, check that it also accepts image uploads and editing instructions.
Read the tool’s available settings before generating. Depending on the platform, you may be able to choose the image shape, number of variations, or output quality.
Start with one clear idea so you can judge how well the tool follows your instructions.
3. Write a Clear Prompt
A useful prompt describes the subject, setting, style, lighting, and composition.
Try this structure:
Subject + action or pose + setting + visual style + lighting + composition
Instead of writing:
Make a beautiful woman.
Try:
Create a realistic portrait of an adult Nigerian woman wearing an emerald-green Ankara dress, standing in a garden. Use soft morning light, natural skin texture, a gently blurred background, and a waist-up composition.
The second prompt gives the tool specific choices to work with. You do not need a very long description; you need details that matter.
Avoid conflicting instructions such as asking for a close-up portrait and a full-body view in the same image.
4. Choose a Suitable Image Shape
The shape of your image affects how it fits into a design.
Shape Example use
Square A product graphic or social post
Portrait A vertical poster or character illustration
Landscape A blog cover or presentation image
If the image will include a headline, ask for uncluttered space where the text will sit. Keep the main subject away from the edges if you expect to crop the picture later.
5. Review and Refine the Result
Look closely at the generated image before downloading or publishing it.
Check hands, faces, object shapes, background details, and any visible writing. For business visuals, also check whether the picture accurately represents what you sell.
Give specific feedback rather than simply asking the tool to “make it better.”
For example:
Keep the same subject, clothing, and camera angle. Simplify the background and change the lighting to soft daylight.
Changing one or two things at a time makes it easier to see what improved. Save versions you like, because another generation may change details you wanted to keep.
6. Use Reference Photos When Needed
If the tool supports reference images, upload a photo to guide an edit or visual direction. Explain what should stay the same and what should change.
For example:
Use the uploaded portrait as the reference. Preserve the person’s facial features as closely as possible. Change the outfit to a navy-blue suit and place them against a neutral studio background.
Compare the result carefully with the original. A reference photo helps guide the output, but exact likeness and consistency are not guaranteed. Use photos you have permission to work with.
Three AI Image Prompts to Try
Food Business Visual
Create a realistic food photograph of Nigerian jollof rice, grilled chicken, and fried plantain on a white ceramic plate. Place it on a clean wooden table with warm natural window light. Make the food the main focus and leave uncluttered space on the right for a headline. Do not add text.
Fashion Concept
Create a full-length fashion photograph of an adult Nigerian male model wearing a cream agbada with subtle embroidery and a matching cap. Use a simple beige studio background, soft lighting, realistic fabric folds, and a relaxed standing pose.
Story Illustration
Create a colourful storybook illustration of a young girl planting a seed beside her grandmother in a small garden. Show a watering can, leafy plants, and warm afternoon sunlight. Use soft painted textures and a cheerful mood.
Prepare Your Image for Publishing
Download the best available version and check how it looks at the size you plan to use. Add exact headlines, prices, contact details, and logos in a design editor so you can control their spelling and placement.
For a website, use a descriptive filename and write alt text that explains the image’s relevant content. Reduce the file size where possible without making the picture visibly blurry.
If you intend to sell the image or use it commercially, check the platform’s current terms. For product advertising, ensure generated details do not misrepresent the actual item.
Your First AI Image Challenge
Choose one everyday subject: a meal, an outfit, a room, or a garden. Write a prompt that includes the subject, setting, lighting, and composition. Generate an image, identify one detail to improve, and revise your instructions.
That simple cycle—describe, generate, review, refine—is the foundation of making better AI images.
How to Create AI Images: A Beginner’s Guide